Whenever my CPU temps start creeping into the 80s, my first instinct is to blame the cooler, but I usually reapply thermal paste anyway. This is because, in my experience, a fresh coat of high-quality thermal paste like Thermal Grizzly Kryonaut has always lowered CPU temperatures by a few degrees, just so I don’t need to constantly monitor them using MSI Afterburner. If you think about it, this is the easiest thing you can do without spending on a new 360mm AIO.
However, a small improvement in temperature can be misleading because it makes you feel like you’ve fixed something when all you’re really doing is buying yourself some slack. In fact, I’ve applied thermal paste multiple times on my current setup only to see the temperature rise again within a few days. That’s when I did some digging and realized it wasn’t the cake or the cooler itself, but how my AIO was installed in the first place. Repositioning properly made a bigger difference than my thermal paste.

Mounting pressure and even contact are more important than the quality of your paste

Unlike all my previous builds, changing the thermal paste here hardly made a difference, which made me question if I was solving the right problem. I knew part of the reason modern CPUs keep increasing their clock speeds as long as there was a thermal gap, but that still didn’t explain why my temperatures were so inconsistent during gaming. That’s when I started thinking about how heat is actually transferred, which is where cold contact comes in.
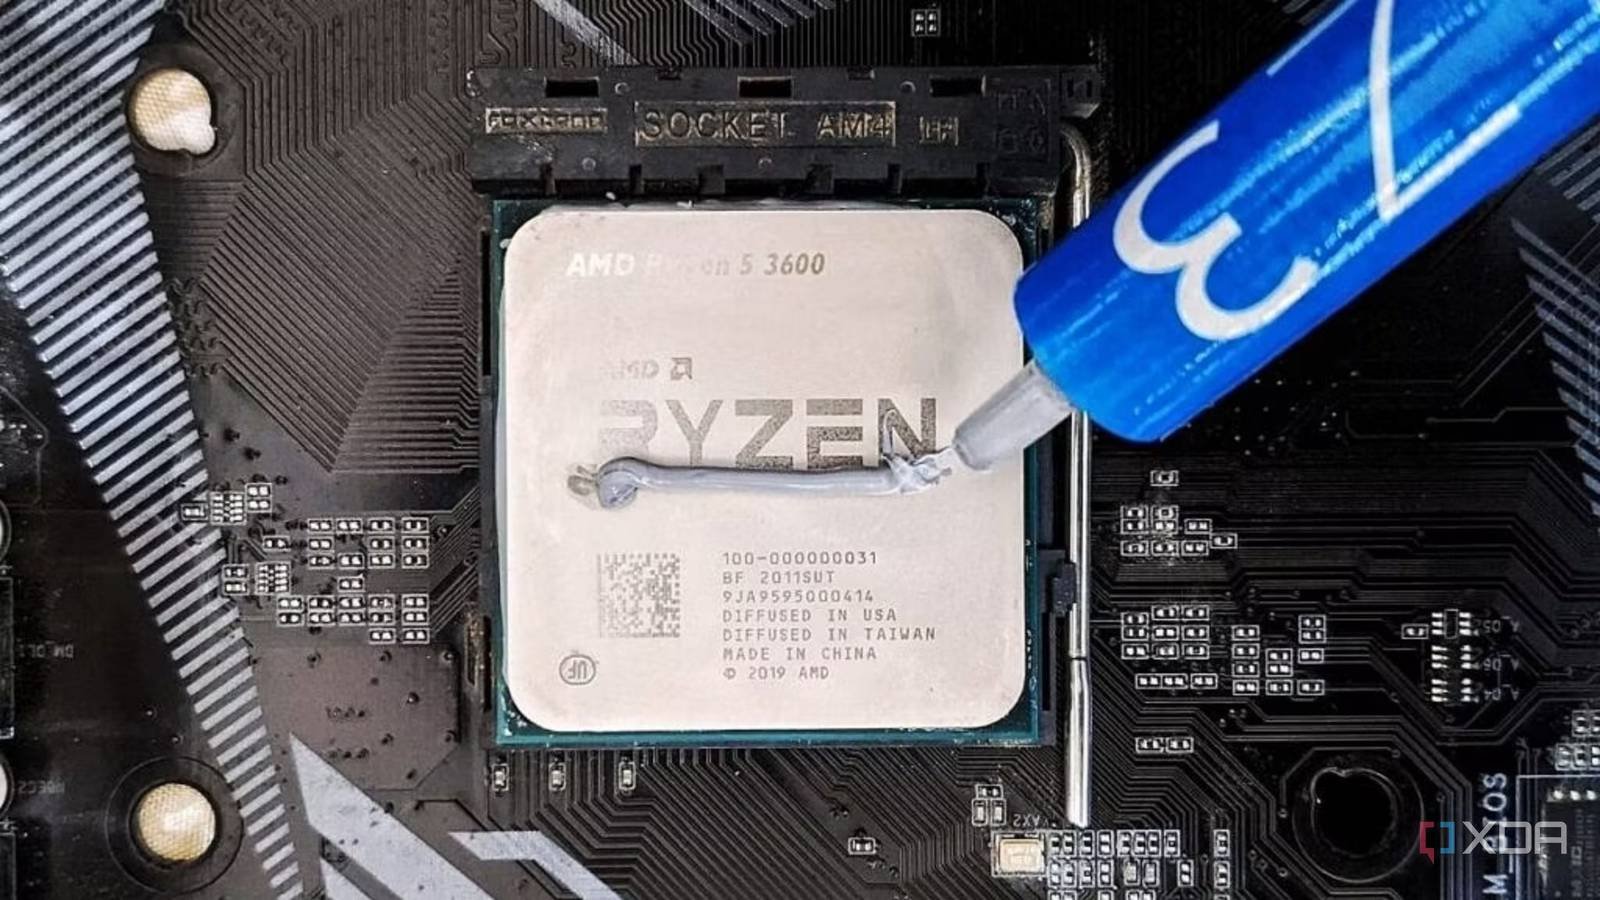
I thought thermal paste did all the heavy lifting, when in fact its job is to fill the microscopic gaps between the CPU’s IHS and the cooler’s cold plate. Actual heat transfer depends on how well these two surfaces are pressed together, and if the mounting pressure is uneven, the CPU parts simply won’t make proper contact. I realized this when I picked up the fridge and saw how uneven the distribution pattern was. So if you find that your paste is thicker on one side and thinner on the other, you should blame the mounting pressure, not the paste itself.
Even slight misalignment or uneven tightening of screws can compromise mounting pressure
What caught me off guard was how easy it is to make this mistake without realizing it. Installing a refrigerator feels simple, but even a small mistake is usually enough to throw everything off. If the pump block doesn’t fit perfectly, or if you tighten one screw more than the others, you end up with uneven mounting pressure on the CPU. I just tightened the screws one at a time until they felt secure, which I thought was enough. However, this approach can actually cause the cold plate to bend slightly and completely break the contact.
Nowadays, I take my time tightening the screws crosswise, gradually applying even pressure rather than tightening one side all at once. I understand how this seems like a small detail, but this alone made a noticeable difference in my temperature. If you’re on an LGA1700 or LGA1851 platform, it’s not uncommon, you could do everything right and still get an incorrect connection. The stock mounting mechanism can apply uneven pressure on the CPU and slightly bends the IHS you will need a contact frame to improve pressure distribution.
Thermal paste can sometimes be quite the problem
But the quality and application of gluing really only matters after everything is assembled

I’m not going to argue that thermal paste can never be the cause of high CPU temperatures. In fact, I have experienced this several times in the past. The point application method is outdated and does not always guarantee full coverage on the IHS. Likewise, if your thermal paste has dried out, it can create voids that reduce effective heat transfer. In those cases, reapplying thermal pasteespecially high quality, can improve your temperature significantly.
But even so, these gains are usually minimal and only worth pursuing once you’ve collected everything. Even liquid metal won’t make a dramatic difference if your high-end AIO isn’t installed properly and the connection isn’t appropriate. At best, it would temporarily hide the problem. So if you really want a permanent fix, disassemble your cooler, check the spread pattern, and if it’s uneven, reseat it properly. If that still doesn’t help, a $10 third-party contact frame might be your best bet rather than a new cooler or thermal paste.
Reapplying the paste is actually the perfect time to fix your mount
If you’ve already decided to replace the thermal paste, I’d say this is your best chance to make sure everything is actually set up correctly. Instead of applying a fresh layer and calling it a day, take a moment to check how the cooler sits and how the paste spreads after removing it. This is exactly where I went wrong for the longest time. I continued to focus on the pie, ignoring a simple thing that determines how well my refrigerator works. If you make the effort anyway, you can get the connection right, because that’s what solves the problem. The temperature improvement from a better joint is just a nice bonus.