When I bought the first-generation Amazon Echo Plus for $180, I planned to make it my smart home hub. It perfectly controlled my first generation Philips Hue smart bulbs for a year. Then it just stopped. No automation worked. Routines come out in the middle of the cycle. Online forums suggested looking into “locking issues” and pointed to simply buying the latest model.
That’s when it clicked: these devices are not built to last. They are built with expiration dates. I shelved my smart home plans because they were too expensive and too dependent companies that can pull the plug at any time. A few months ago, I took a different approach: stop buying smart home devices and start building them.

I ran the numbers and they didn’t lie
Math made the decision easy
I wanted to explore the recurring advice of the smart home community to build my own devices to see if it made financial sense. I dropped the smart home hub and got it used, spec mini PC For $150. Then me installed Proxmox on and ran Home Assistant as my Smart home platform.
I made a list of the gadgets I want in my smart home. An alarm doorbell is $100, an Agara FP2 for presence detection is $83, six Alarm Communication sensors are $90, and a Netatmo smart home weather station is $180. The total cost, excluding the price of the smart home hub, was $453.
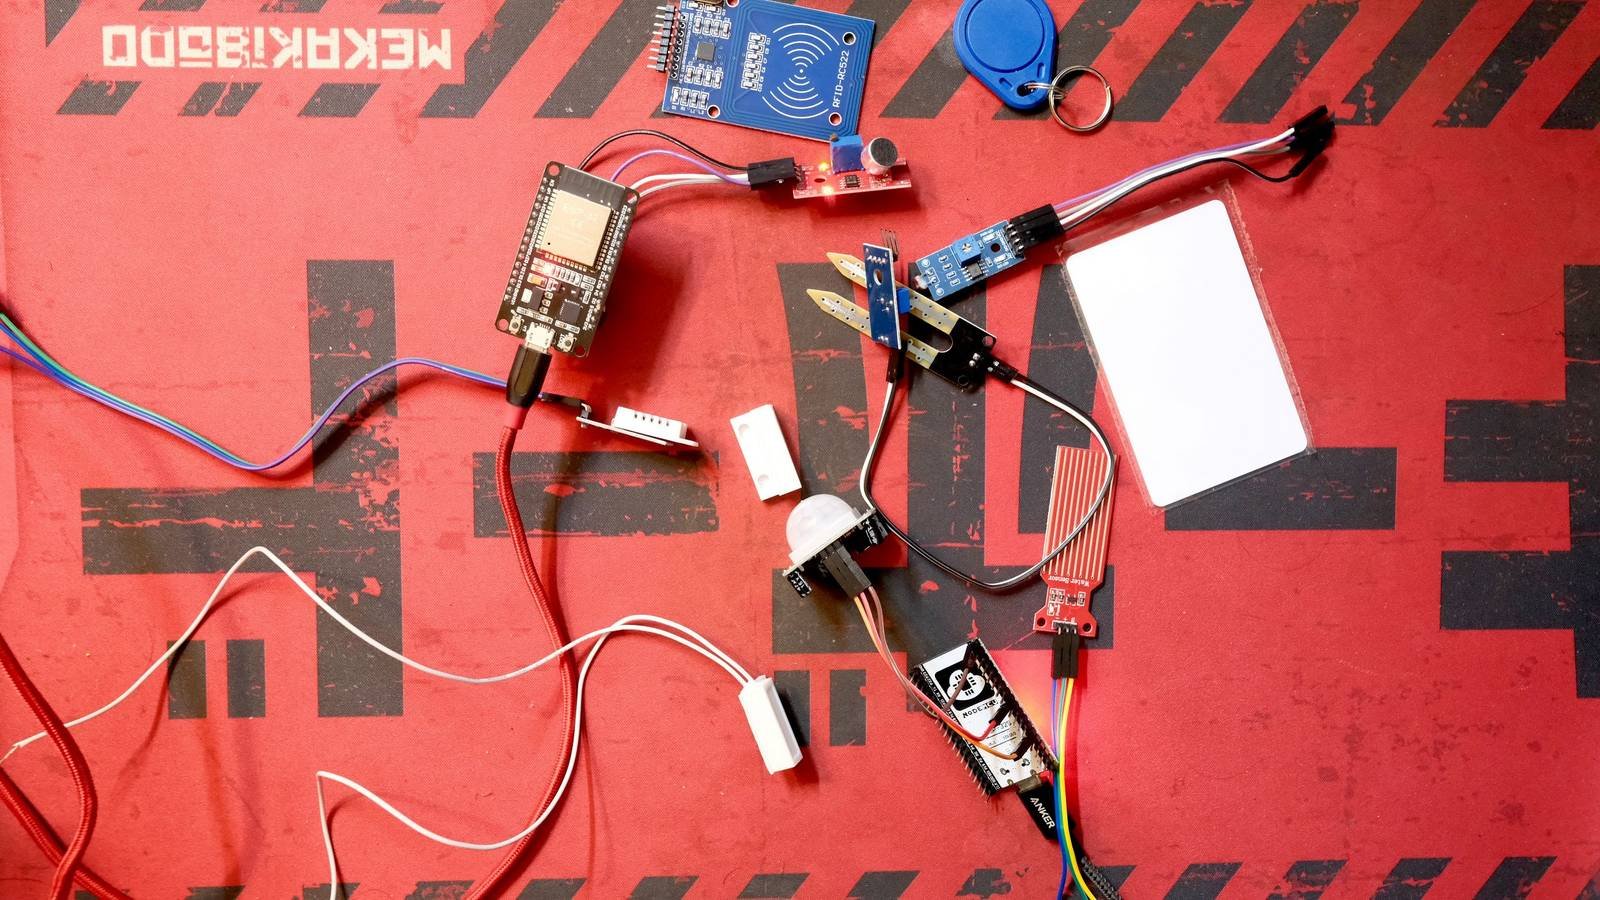
This time I wanted devices that talk to each other without any cloud dependencies. I took some ESP32 boards and cheap sensors for build my own smart devices. Here’s what I chose:
-
Five ESP32 boards for $45
-
Two Magnetic Reed Switches for $1
-
mmWave Radar sensor (LD2410) for $5
-
PIR motion sensor (HC-SR501) for $4
-
Humidity, temperature and pressure sensor (BME280) for $5
Besides the sensors, I needed the tools to build the devices: a soldering iron for $14, Kester (63/37) solder wire for $14, solder wick for $6, and flux for $9. In total, all the parts cost about $100.
Shaking code and development problems
At first I thought that buying an ESP32 meant learning actual electrical engineering and coding from scratch. It turns out that the prolific Home Assistant community and ESP32 on Reddit have always offered instructions and code ready to flash after a little tweaking.
Over time, I realized that ESPHome integration in Home Assistant Did all the hard work to compile and flash the firmware on the ESP32. The community then shared ready-made sketches that I could flash using the Arduino IDE. Thanks to all this, I feel confident Works with ESPHome, Arduino IDEand PlatformIO in Visual Studio. Sometimes I can use ESP-IDF and Tools on Mac to run custom ESP32 projects from GitHub.
All those hours spent learning and troubleshooting have taught me enough to be confident in building, compiling, and flashing custom ESP32 firmware. Some working knowledge of software tools makes things easier.
Things I Didn’t Expect (But Now I Can’t Live Without)
Saving money was just the beginning

To be honest, the cost savings is what attracted me to building ESP32 devices in the first place. Over time, I realized how easy it is to disassemble one: remove the jumper cables from the ESP32 and insert another sensor. Then I ran another custom firmware for the new sensor and had another device set up in less than an hour. What sold me was that every ESP32 device I built worked locally without depending on the cloud. They even worked without an active internet connection.
My initial builds took over four hours, some all weekend. That’s on me – I’m not a developer, just an avid tinkerer. Every time it happens to me, I look on the Internet smart home communities and they always found help within a day. In addition, Home Assistant and ESPHome are not sunsetting any features or offering one-time subscriptions.
My first ESP32 project with a reed switch ran for a few weeks before I had to replace the board. Others, a Bluetooth Proxykeep running in the background with zero maintenance.
When does it make sense to buy a smart home gadget?
Safety comes first

While I’ve built hobby-grade smart home devices, they’re nowhere near the level of commercial products where security is important. I do not make smoke detectors, CO monitors, or anything that requires safety certification from people who test such products. Insurance companies care about these labels.
The ESP32 devices in my smart home are designed to monitor and collect data that I can use for automation and adjustments. For example, DIY water leak sensor can work for water leak warning. But insurance companies mandate a certified smart water valve for automatic shut-off.

Building a smart home that works for me
I continue to build ESP32 devices for better monitoring and automation. I’m tired of paying a premium for cloud-dependent smart home gadgets that call home, only to have the company support me anytime. However, I will buy certified products for safety and compatibility. I’m not risking my family’s safety just to save money.
That Echo Plus taught me an expensive lesson in planned obsolescence. So I built a smart home ecosystem that works on my terms. With an ESP32 board and a few cheap sensors, you can make a smart device that costs a little more than the commercial price.