I used it Raspberry Pi 4 as my Home Assistant hub and for IoT projects because it had GPIO pins. But over time, performance issues persisted, and I moved Home Assistant’s duties to my mini PC. as I met ESP32 microcontrollersconstruction equipment became entertainment. However, I wondered if the Pi is still needed in the smart home circuit.
I moved my hand slowly Raspberry Pi projects $5 ESP32 boards to see if low power microcontrollers can handle the load. Most of the IoT and a few general projects have run successfully on the ESP32. This helped me focus on setting a single task instead of using a full Linux OS box for it. These projects were implemented Permanent switch from Pi to ESP32.

Buying a smaller LED strip controller
A more subtle setup

My setup had an RGB LED strip connected to the Raspberry Pi 4’s GPIO pins. It took me a few hours to get the RGB LED strip working with the rpi_ws281x library, but it was limited to basic lighting effects.
after learning about WLED projectI shined on stock ESP32-S3 (not the mini version) and the RGB LED strip was up and running in less than 30 minutes.
I wanted to build a sound-reactive LED strip. So I pulled the Atom Echo (an ESP32 board with built-in speaker and microphone) out of the drawer and flashed the latest WLED firmware to it. With a few tweaks to the settings, I had perfect audio-reactive LED lights that responded to the music. I plan to use it later Hyperion On the Pi to work with WLED.
Construction of multi-purpose sensor nodes
Fast and responsive
Since the Home Assistant already runs on the Raspberry Pi, my goal was to wire the sensors directly. However, my Argon40 case made it difficult to connect the sensors to the Pi and I didn’t want to permanently solder the sensors.
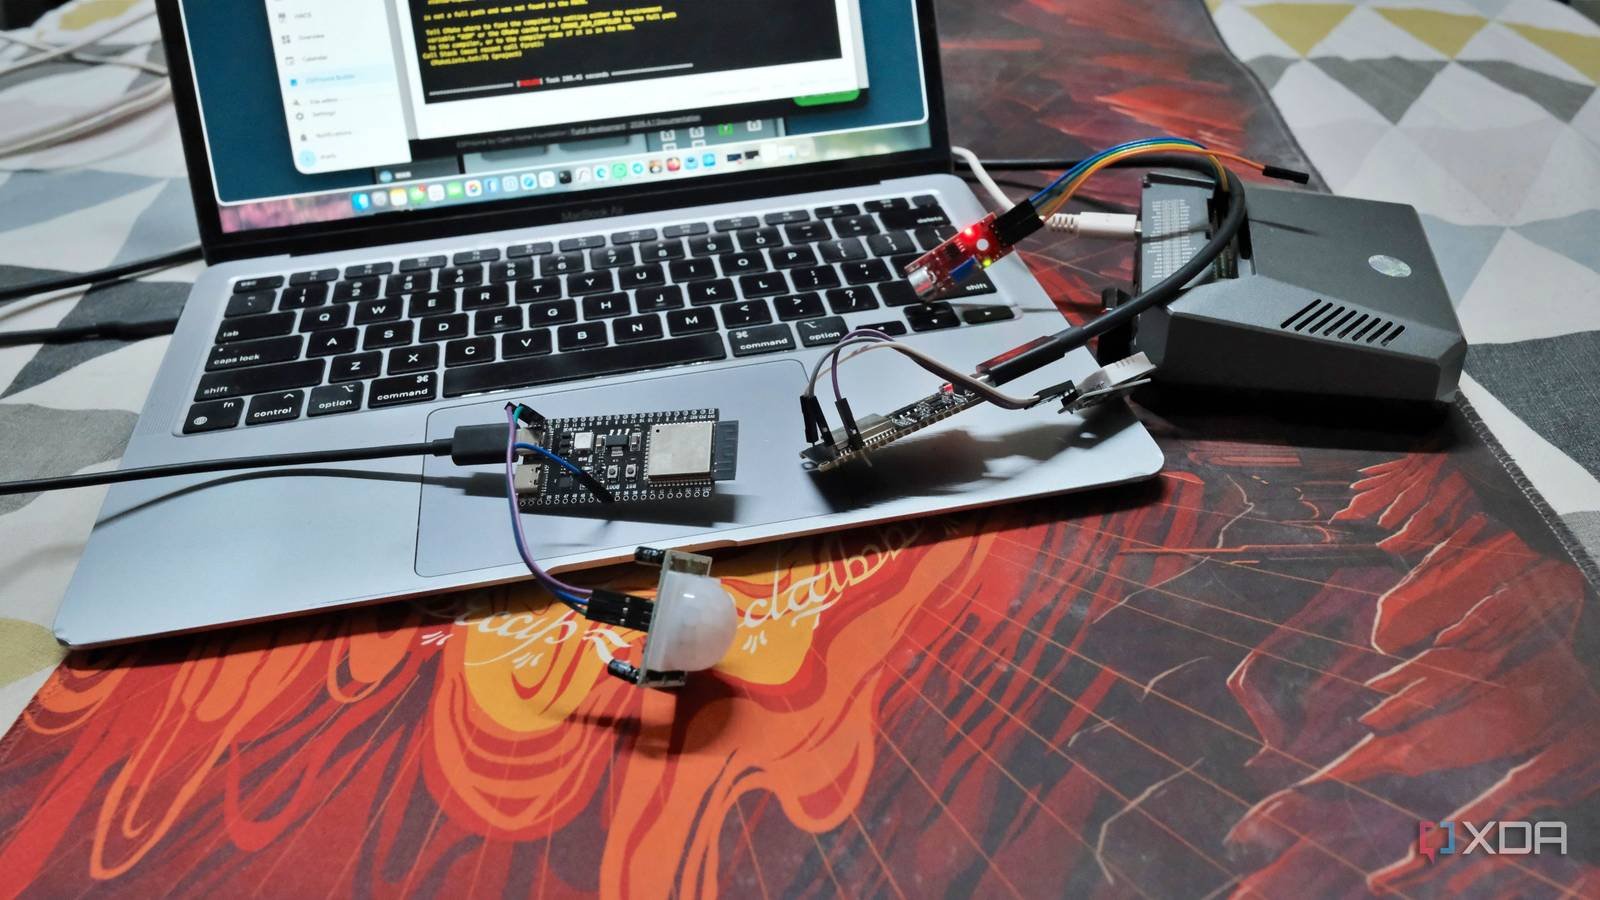
When I started building sensors using the ESP32, I gained the confidence to use a microcontroller instead of a Linux box for IoT systems. It only took me a few minutes to download the ESPHome firmware onto a computer ESP32 board with DHT22 and PIR motion sensor Combi.
The ESP32 gives me the flexibility to disassemble a sensor node and build another one in minutes. I prefer the ESP32 which consumes less power than the Pi just to report the sensor data. Both devices are always on, but the ESP32 reboots in seconds and runs only the necessary firmware without any additional overhead. It gave me the confidence to do something bigger.
Small devices to help the home assistant
Manage part of the smart home

I have an IR module built into my Raspberry Pi case for IoT projects. But I never got it to work properly. Besides, it was just an IR receiver module and nothing else. So I decided to assemble a DIY Infrared blaster node. There are commercial options like the Seeed Studio Smart IR Mate and the Broadlink RM 4 Pro, but I wanted to use the ESP32 I already had and get other components that were really cheap – all for under $10.
On the prototype board, I connected an ESP32-S3 mini, some infrared LED emitters, an NPN transistor, and an IR receiver module to build a DIY Infrared blaster. Getting the wiring right was the hardest part of the whole build. I still haven’t hidden it 3D printed box.
Running a network utility to monitor service uptime
Know when the service is down

I hosted myself Kuma at runtime on the Pi to monitor my self-hosted services and be notified when something goes wrong. It worked fine, but since I was already freeing up the Pi for other experiments, I wanted a dedicated device that didn’t require a full Linux installation.
A colleague of mine solved this by typing ESP32 based runtime monitor. After cloning the stock, I flashed it on the ESP32-C6 board. After the web interface was up and running, I added the IP addresses and ports of the services with their names, types, polling intervals and paths.
The web interface is bare bones, but it gets the job done. I don’t see it replacing Uptime Kuma, but it doesn’t waste a lot of resources. I made sure it ran separately and restarted quickly for one purpose: to alert me when any of my services went down.
Expanding the ability to detect Bluetooth presence
Several Bluetooth Proxies help

Since Home Assistant was already running on my mini PC, I switched the Pi off from presence detection. This also freed up the USB Bluetooth adapter I use to transmit device information to the Home Assistant.
With several ESP32 boards acting as Bluetooth proxies, the workload of identifying devices and transmitting this information to Home Assistant is reduced. Also, it’s cheaper than using multiple Pi nodes as Bluetooth proxies.
A few ESP32 nodes at home too Wear Bermuda shortsa Home Assistant add-on that uses Bluetooth Low Energy’s RSSI trilateration to track smartwatches, phones, and beacons.

Cheaper is not always a compromise
The ESP32 changed the way I look at IoT builds, and it didn’t replace the Pi. These microcontrollers load in seconds and do exactly what I need. Meanwhile, the Pi is still earning its keep as a Linux box for other experiments. This migration taught me that sometimes the right tool is cheaper.

- Brand
-
AITRIP
- Connection Features
-
UART, USB
The ESP32 is a fantastic development board that combines robust features with an affordable price. Although cheaper than Arduino and Raspberry Pi Pico, it outperforms most of its competitors. Plus, the ESP32 even has built-in Wi-Fi and Bluetooth on every board, making the microcontroller great for projects where you can’t keep it physically connected to your computer all the time.